After posting ‘How to crochet a chainless foundation row‘ I was determined to figure out a way of doing it for a ripple. A little push came my way via Instagram and so here it is. I have added a couple of videos to show the increase bit and the decrease bit, apologies that the first bit is out of focus but stick with it as I repeat it and then it is in focus! I will try and tyake better videos and upload them at some point but hopefully this will help.
I suggest if you cant already do a straight chainless row then you look at my previous post first as I will just skim over the straight bits and concentrate on the hills and valleys.
This ripple is based on Attic24’s neat ripple pattern.
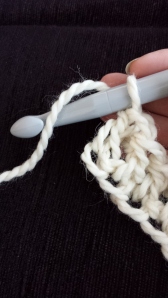
To start we chain 4 and do 1 ordinary treble into the 4th chain from the hook.
Now we start with the foundation treble crochet (FTR) do 4 FTR ( yo, into that same chain for this 1st ftr, yo back through chain, yo and come back through 1 loop only, this creates our ‘chain’, now yo back through 2 loops,yo back through 2 loops to complete our 1st ftr, for the next ftr we work into the base loop of the previous ftr,
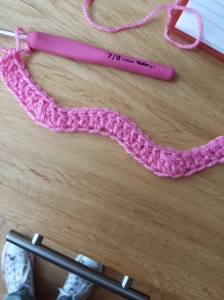
here you can see the BASE LOOPS along the bottom edge
DECREASE
once we have 4 ftr we need to work our decreases, so we yarn over go into base loop. yo back through, yo through 1 loop (to make chain), yo through 2 loops, 2 loops on hook, keep these 2 loops on your hook and yo go into the same base loop again, yo come back through (4loops on hook) yo through 2 loops(3loops on hook) yo and come back through all 3 remaining loops on your hook. repeat.

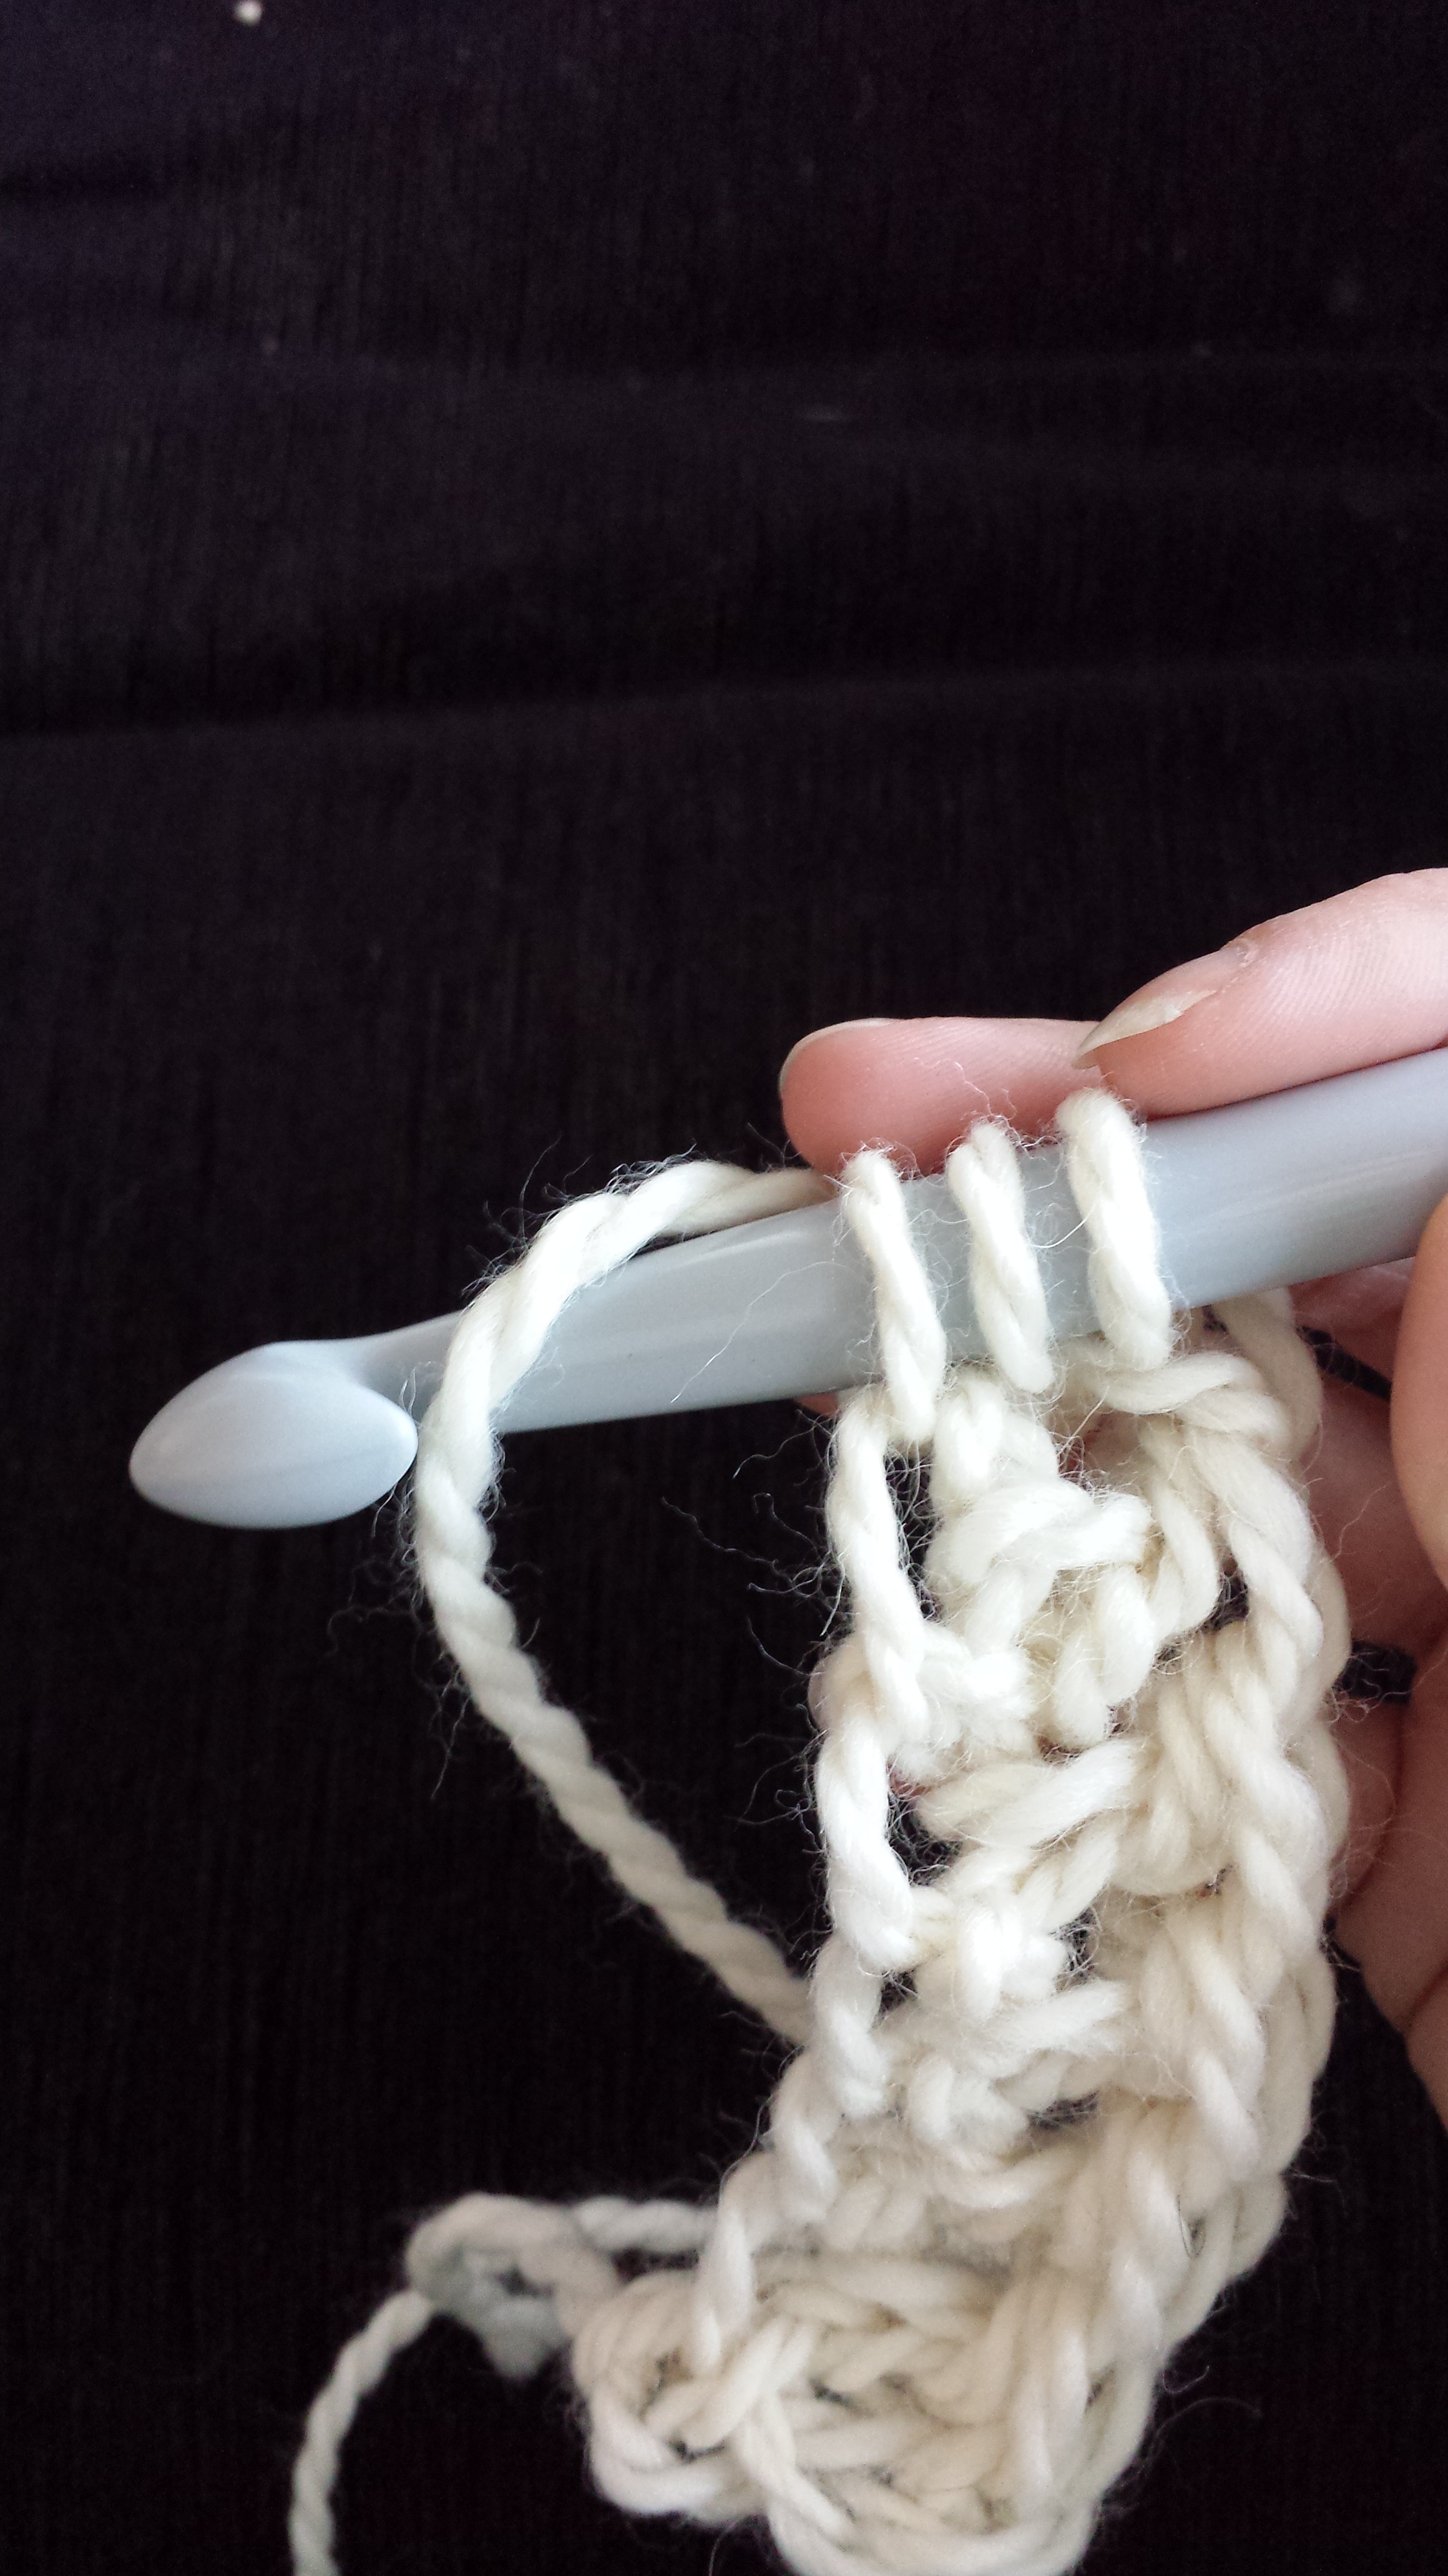
yarn over

into base loop, yarn over, bring back through base loop

yarn over, THROUGH 1 LOOP to create chain

yarn over through 2 loops, leaving 2 loops on hook

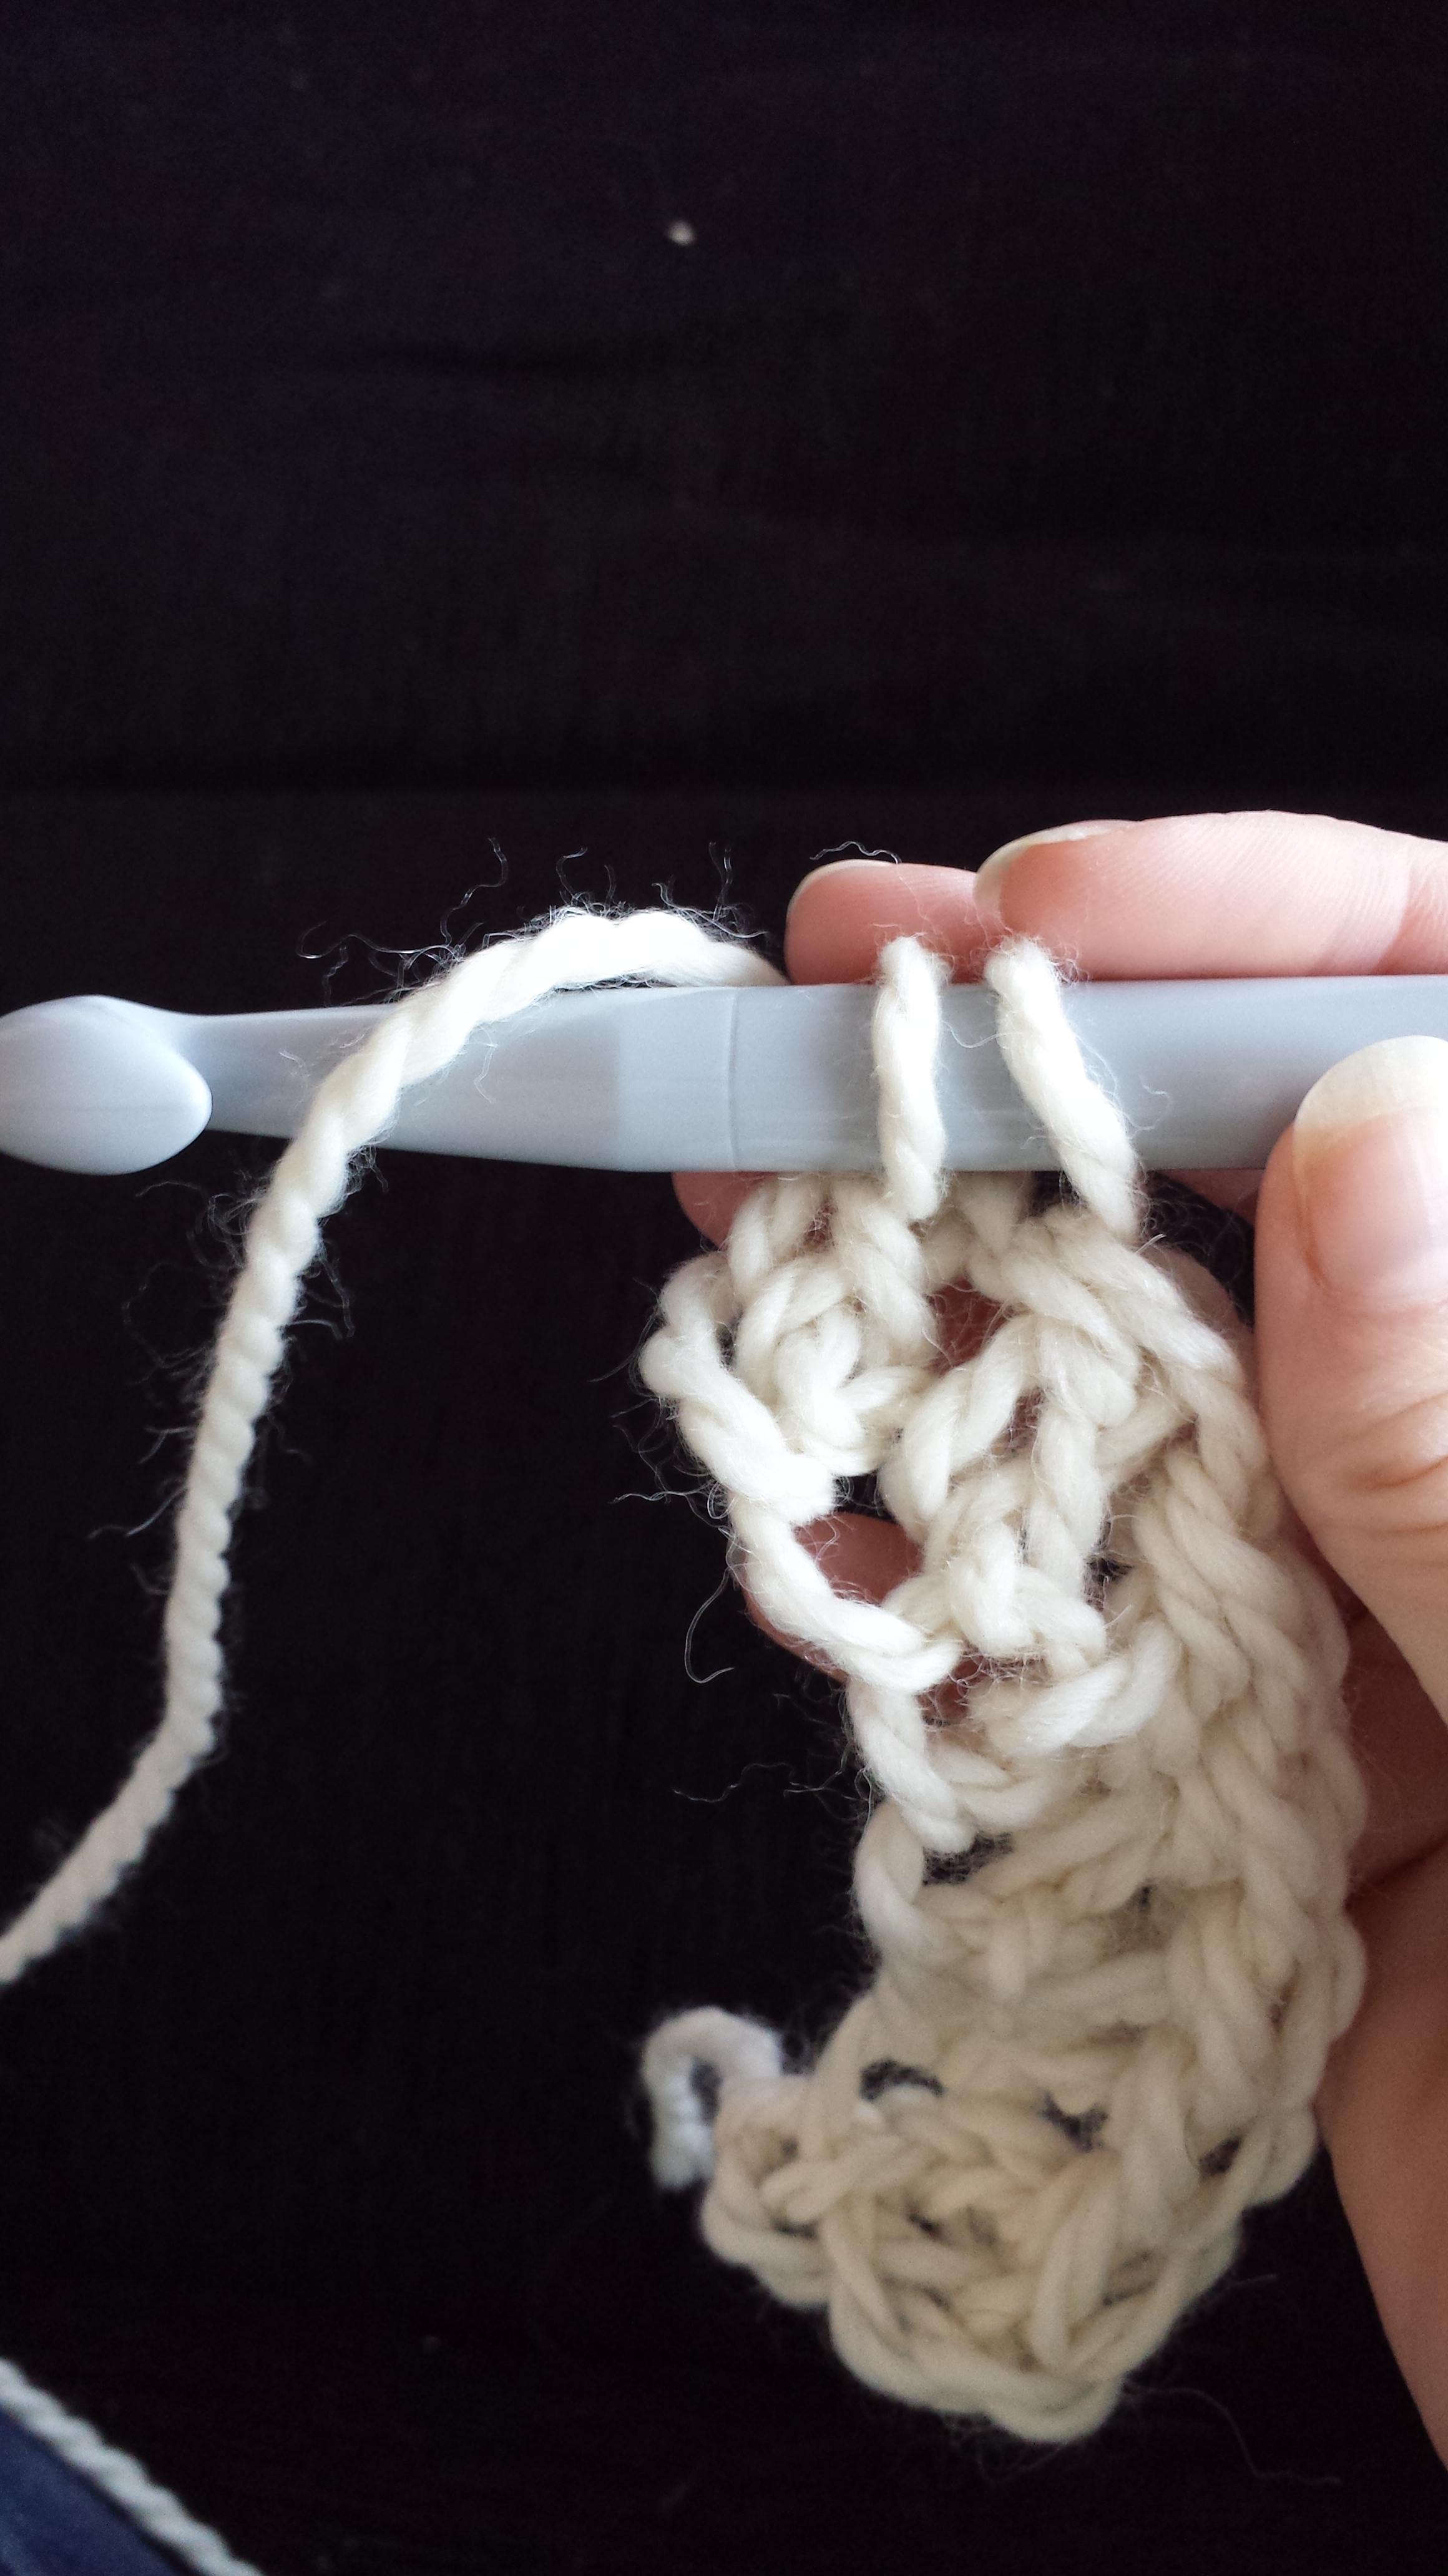
yarn over, back into base loop, yarn over bring back through

4 loops on hook, yarn over bring through 2 loops

3 loops on hook, yarn over bring through all 3 loops

decrease made
then make 4ftr
INCREASE
now the hill or increase, yo into base loop, yo back through, yo through 1 loop, yo through 2 loops, yo through 2 loops, yo into same base loop, yo through 2 loops yo through 2 loops, repeat.
the increase is basically making 1 ftr then 1 tr into the same base loop
4ftr
Sadly I can’t upload the video I made so I will try and You Tube it and then link to it from here. Hopefully the words will make sense in the meantime. Please let me know if you have any problems or questions in the meantime.